For anyone interested in understanding how we produce the teaching modules, this page simply demonstrates the early, in-house development stages we use and how a module gradually grows into its full trialling state.
1. The teaching template
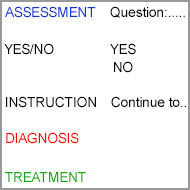 Our first two years were spent trialling a teaching template to enable a path for safe clinical reasoning
 2. Assessment flow test
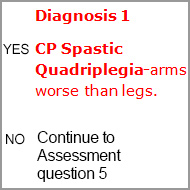 The next step is to find a senior Physio, specialising in a clinical area (peadiatrics, amputees etc) to complete the relevant template, breaking down their assessment into consecutive steps, each connected by a yes/no logic. The result is a flow diagram that ends with a diagnosis, which in turn leads to its appropriate treatment. All specialist physios have donated their time as volunteers.
 3. Review of the flow
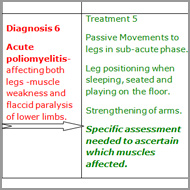 The written module is then reviewed by a second senior Physio specialising in the same clinical area. Edits are made and the module continues to be reviewed until all specialists feel confident that enough depth is given whilst enabling simple comprehension.
 4. Resourcing images
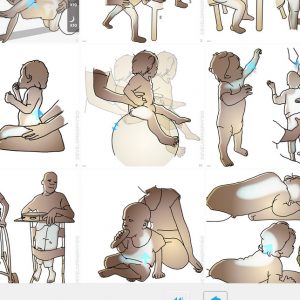
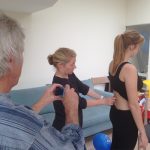 At this stage the visual thread is added, when our designer meets up with the specialist and patient. Following the text of the flow diagram, photographs of each step are made to give parallel visual interpretation
 5. Conversion to graphics
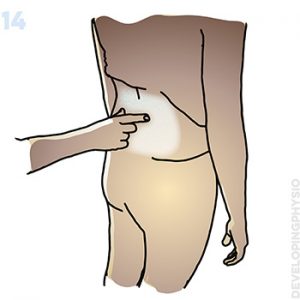 From the photographs (and to help cultural acceptability and design cohesion) simple graphics are made, focusing on key points of the flow process. These points are often revealed in small but significant details, such as hand positions.
 6. Text and image balance
 We then condense the original texts so that future (non-specialist but qualified) physios will be able to teach the module. Many field clinics may want a range of rehabilitation modules but only have the one teacher, so keeping simplicity and non-invasiness to local teaching programmes is important.
 7. Interactivity
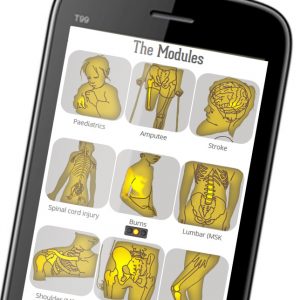 The material is then put into its interactive format so that all modules can be reviewed and fully proofed online. It is then ready for its trial stage and placed on USB and LibraryBox (for situations where no internet exists).
 8. Field trials
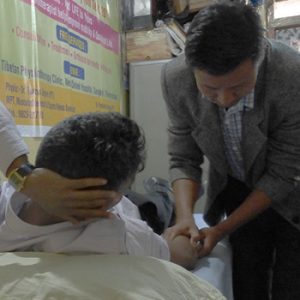 A module is now ready to be piloted by teaching physios in the field. Feedback from these physios and their students is vital in allowing us to review and revise the module repeatedly.
 9. Global trials
 Once modules have been piloted enough to the point that no more edits are needed, they are declared fit for their global trials. These global trials will run from autumn 2019 for a minimum of two years.
 To elaborate on the above, the quick notes below refer to features provided generally throughout all modules.
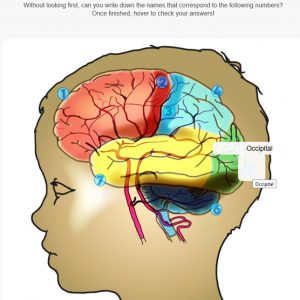
Anatomical reference
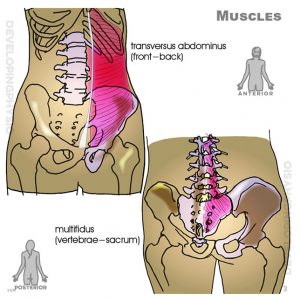 Relevant reference material is provided at the start of each module
 Basic physiology
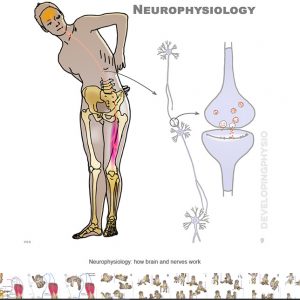 Graphics reduce reliance on words, whilst enabling clinical comprehension
 Pathology
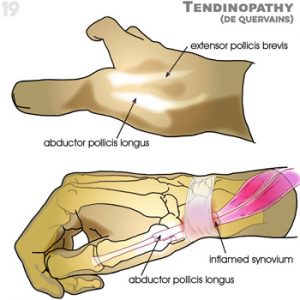 Each module contains guidance on its relevant pathologies, the understanding of which is essential to all consequent assessment and treatment stages.
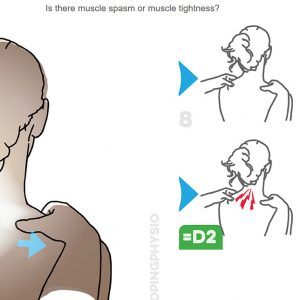
 Guided diagnosis
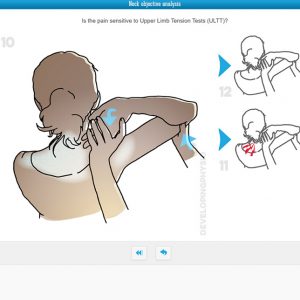
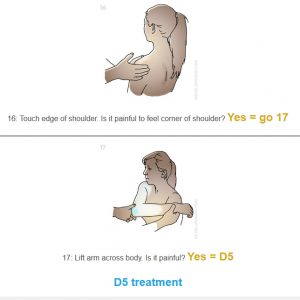 Guided diagnostic steps prompt an understanding of the logic for each assessment
 Assessment procedure
 All diagnoses have been anticipated by the author, removing clinical responsibility from the student
 Treatment prompts
 Treatments include visual aids, together with a treatment plan for relevant 'home exercises'.
 Treatment advice
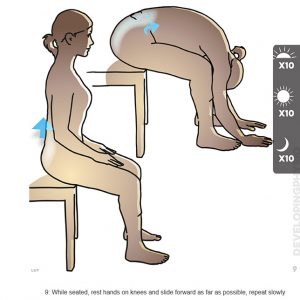 Included in treatments are times of day for exercises, which information can be printed out
 Community aim
 Wherever possible, steps to inclusion are encouraged within the modules
 Support paperwork
 This includes exam paperwork, SOAP notes and guides, supervision paperwork, accountability, learning games and more